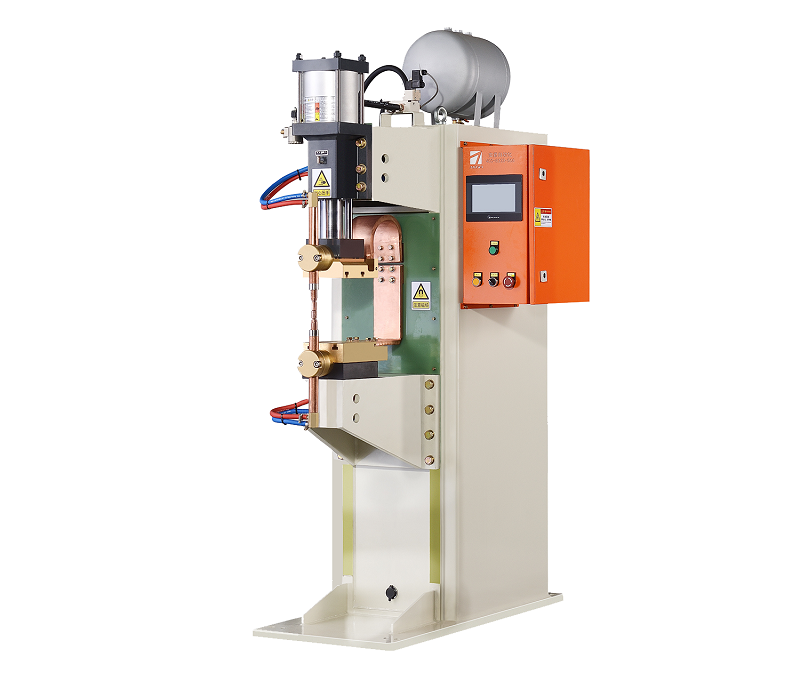
Quality Inspection in Medium-Frequency Inverter Spot Welding
Quality inspection is a crucial aspect of medium-frequency inverter spot welding to ensure the integrity and reliability of weld joints. This article focuses on discussing various methods and techniques used for quality inspection in medium-frequency inverter spot welding processes.

- Visual Inspection: Visual inspection is a primary method used to assess the quality of spot welds. Operators visually examine the weld joints for any visible defects such as incomplete fusion, cracks, porosity, or irregular nugget shape. Visual inspection helps identify surface imperfections and inconsistencies that may affect the structural integrity of the welds.
- Dimensional Measurement: Dimensional measurement involves assessing the physical dimensions of the welds to ensure they meet the specified requirements. This includes measuring parameters such as nugget diameter, nugget height, weld diameter, and indentation size. Dimensional measurements are typically performed using calipers, micrometers, or other precision measurement tools.
- Non-Destructive Testing (NDT): Non-destructive testing techniques are employed to evaluate the internal quality of spot welds without causing damage. Common NDT methods used in medium-frequency inverter spot welding include: a. Ultrasonic Testing (UT): Ultrasonic waves are used to detect internal defects such as voids, porosity, and lack of fusion within the weld joints. b. Radiographic Testing (RT): X-rays or gamma rays are used to inspect welds for internal defects such as cracks, incomplete fusion, or inclusions. c. Magnetic Particle Testing (MT): Magnetic particles are applied to the weld surface, and the presence of magnetic field disruptions indicates surface or near-surface defects. d. Dye Penetrant Testing (PT): A colored dye is applied to the weld surface, and the dye seeping into surface-breaking defects indicates their presence.
- Mechanical Testing: Mechanical testing is performed to evaluate the strength and mechanical properties of spot welds. This includes destructive tests such as tensile testing, shear testing, or peel testing, which subject the weld joints to controlled forces to determine their load-bearing capacity and structural integrity.
- Microstructural Analysis: Microstructural analysis involves examining the microstructure of the weld zone using metallographic techniques. This helps assess the weld’s metallurgical characteristics, such as grain structure, fusion zone, heat-affected zone, and any microstructural anomalies that may affect the weld’s mechanical properties.
Quality inspection is a critical step in ensuring the reliability and performance of spot welds produced by medium-frequency inverter spot welding machines. By employing visual inspection, dimensional measurement, non-destructive testing, mechanical testing, and microstructural analysis, manufacturers can evaluate the weld’s integrity and identify any potential defects or deviations from the required standards. Effective quality inspection practices contribute to the production of high-quality spot welds that meet the stringent requirements of various industries.