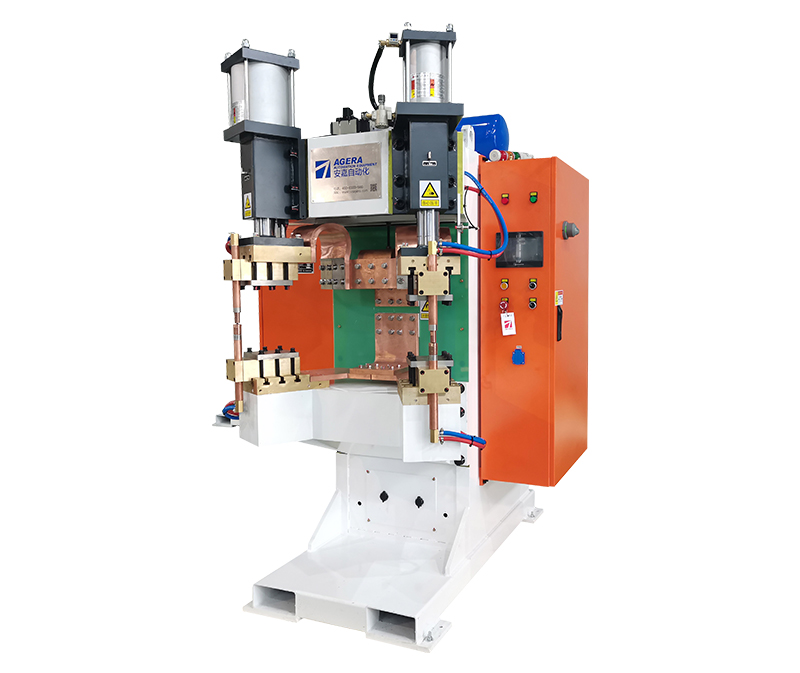
How to Make Welding Process Test Pieces for Nut Spot Welding Machine?
Creating welding process test pieces is a crucial step in evaluating and optimizing the performance of a nut spot welding machine. Test pieces allow operators to fine-tune welding parameters and ensure weld quality before moving on to actual production. In this article, we will discuss the steps involved in making welding process test pieces for a nut spot welding machine.
Step 1: Material Selection Choose the same material and thickness that will be used in the actual production for the test pieces. It is essential to use representative materials to accurately assess weld quality and performance.
Step 2: Preparation Cut the selected material into small, identical-sized pieces using a shear or a precision cutting tool. Clean the cut edges to remove any debris or contaminants that may affect the welding process.
Step 3: Surface Preparation Ensure the surfaces to be welded are smooth and free from any oxidation or coatings. Proper surface preparation is critical to achieving consistent and reliable welds.
Step 4: Electrode Configuration Set up the nut spot welding machine with the appropriate electrodes and electrode force for the selected material. The electrode configuration should match the intended production setup.
Step 5: Welding Parameters Determine initial welding parameters, including welding current, welding time, and electrode force, based on welding procedure specifications or recommended guidelines. These initial parameters will serve as a starting point for further adjustments during the test welding process.
Step 6: Test Welding Perform test welds on the prepared test pieces using the defined welding parameters. Ensure that each test weld is carried out under the same conditions to maintain consistency.
Step 7: Visual Inspection After completing the test welding, visually inspect each weld for defects such as lack of fusion, burn-through, or excessive spatter. Document any observed defects for further analysis.
Step 8: Mechanical Testing (Optional) If required, conduct mechanical testing on the test pieces to evaluate weld strength and joint integrity. Tensile and shear tests are common methods used to assess weld performance.
Step 9: Parameter Adjustment Based on the results of the visual and mechanical inspections, adjust welding parameters as needed to improve weld quality and achieve the desired results.
Step 10: Final Evaluation Once satisfactory weld quality is achieved, consider the optimized welding parameters as the approved process for production welding. Record the final welding parameters for future reference and consistency.
Creating welding process test pieces for a nut spot welding machine is an essential step in ensuring reliable and efficient production welding. By carefully preparing the test pieces, selecting appropriate materials, and evaluating the results through visual and mechanical inspections, operators can establish the ideal welding parameters for consistent and high-quality welds in their production processes.
