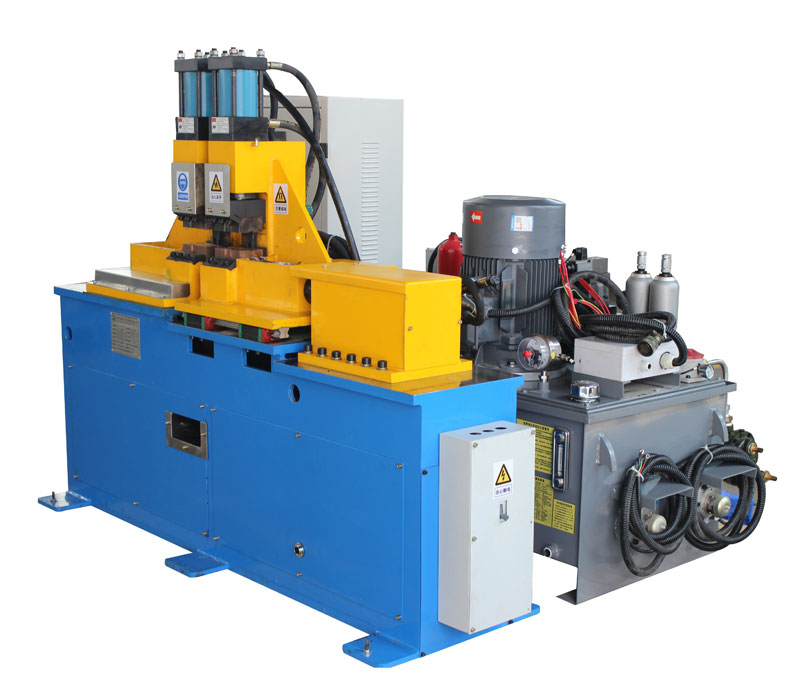
How to Inspect Welding Quality in Butt Welding Machines?
Ensuring the quality of welds in butt welding machines is paramount to the reliability and safety of welded structures. This article delves into various methods and techniques used to inspect welding quality in butt welding machines, emphasizing the importance of rigorous inspection processes.
- Visual Inspection:
- Importance: Visual inspection is the most straightforward and initial method to assess welding quality.
- Procedure: Trained inspectors visually examine the welded joint for visible defects such as cracks, undercuts, incomplete fusion, or excessive porosity. This inspection is often conducted immediately after welding and again after any required post-weld treatments.
- Dimensional Inspection:
- Importance: Dimensional accuracy is critical for structural integrity, making dimensional inspection crucial.
- Procedure: Precise measurements are taken to ensure the weld’s dimensions match design specifications. This includes assessing the weld’s width, depth, and overall geometry.
- Non-Destructive Testing (NDT):
- Importance: NDT techniques allow for detailed inspections without damaging the welded joint.
- Procedure: Various NDT methods, such as ultrasonic testing, radiographic testing, magnetic particle testing, and dye penetrant testing, can be employed to detect internal defects, discontinuities, or material irregularities in the weld.
- Mechanical Testing:
- Importance: Mechanical testing assesses the strength and ductility of the weld.
- Procedure: Tensile, impact, and hardness tests are common mechanical tests used to evaluate weld quality. These tests determine the weld’s ability to withstand applied forces and its resistance to fracture.
- Macroscopic Examination:
- Importance: Macroscopic examination provides a close-up view of the weld’s internal structure.
- Procedure: Cross-sectional samples of the weld are prepared and examined under a microscope to assess grain structure, heat-affected zones, and the presence of any defects or anomalies.
- Microscopic Examination:
- Importance: Microscopic examination offers an even finer level of detail regarding the weld’s microstructure.
- Procedure: Thin sections of the weld are polished and analyzed under a high-powered microscope to evaluate the weld’s metallurgical properties, including grain size, inclusion content, and phase distribution.
- Ultrasonic Testing (UT):
- Importance: UT is highly effective in detecting internal weld defects.
- Procedure: Ultrasonic waves are transmitted into the weld, and the reflected waves are analyzed. Any anomalies in the weld structure are identified based on the echo patterns.
- Radiographic Testing (RT):
- Importance: RT provides a comprehensive view of the weld’s internal condition.
- Procedure: X-rays or gamma rays are passed through the weld, creating an image on film or a digital detector. Discontinuities such as voids, inclusions, or cracks appear as shadows on the radiograph.
Inspecting welding quality in butt welding machines is a multifaceted process that employs various methods, including visual inspection, dimensional checks, non-destructive testing, mechanical testing, macroscopic and microscopic examinations, ultrasonic testing, and radiographic testing. Each of these techniques serves a specific purpose in assessing the weld’s structural integrity, internal soundness, and conformance to design specifications. By rigorously implementing these inspection methods, welders and inspectors can ensure that the welded joints meet industry standards and safety requirements, contributing to the overall success and reliability of welded structures in diverse applications.
