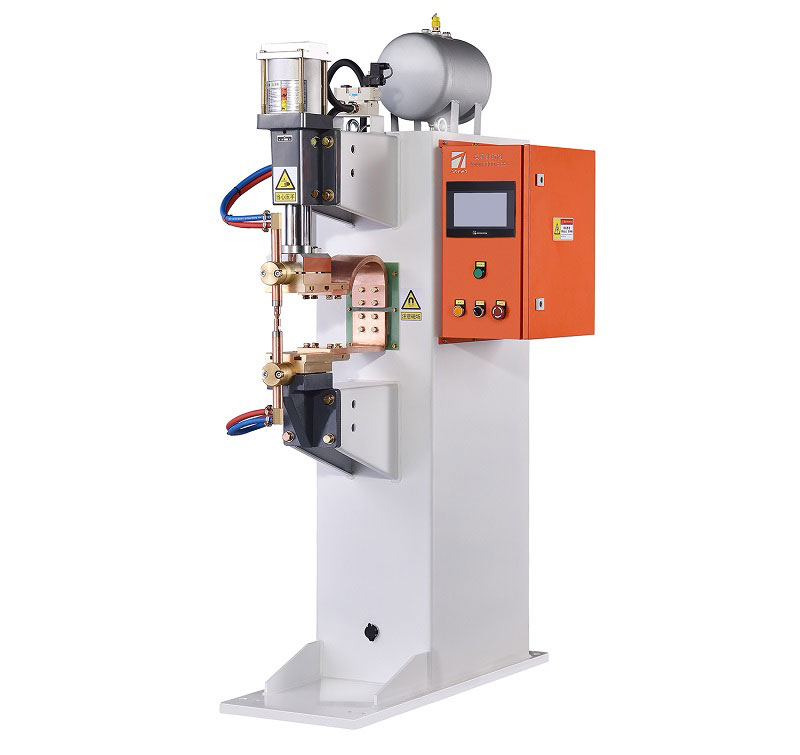
Self-Testing of Resistance Spot Welding Machine Faults
Resistance spot welding is a widely used method for joining metal components in various industries. However, like any machinery, spot welding machines can encounter faults and malfunctions over time. In this article, we will discuss how to perform a self-test on a resistance spot welding machine to identify and diagnose common issues.
Safety First
Before we delve into the troubleshooting process, it’s essential to emphasize the importance of safety. Ensure that the welding machine is disconnected from the power source and that all safety protocols are followed before attempting any self-testing or repairs. Safety gear, including welding gloves and a helmet, should be worn at all times during this process.
Step 1: Visual Inspection
Begin by conducting a thorough visual inspection of the welding machine. Check for any loose cables, damaged wires, or obvious signs of wear and tear. Make sure that all connections are secure and that there are no visible obstructions in the welding area.
Step 2: Electrical Checks
- Power Supply: Confirm that the power supply to the welding machine is stable. Voltage fluctuations can lead to welding issues. Use a multimeter to check the voltage at the machine’s input.
- Transformer: Inspect the welding transformer for signs of overheating, such as discoloration or a burnt smell. If any issues are detected, the transformer may need replacement.
- Control Panel: Examine the control panel for error codes or warning lights. Consult the machine’s manual to interpret any error codes and take appropriate action.
Step 3: Welding Electrodes
- Electrode Condition: Check the condition of the welding electrodes. They should be clean, free of debris, and have a smooth, undamaged surface. Replace any worn or damaged electrodes.
- Alignment: Ensure that the electrodes are properly aligned. Misalignment can lead to inconsistent welds. Adjust them if necessary.
Step 4: Welding Parameters
- Current and Time Settings: Verify that the welding machine’s current and time settings are appropriate for the materials being welded. Consult the welding procedure specifications (WPS) for guidance.
- Welding Pressure: Check and adjust the welding pressure as per the material thickness and type. Incorrect pressure can result in weak or incomplete welds.
Step 5: Test Welds
Perform a series of test welds on scrap materials that are similar to the workpieces you will be welding. Inspect the quality of the welds, including their strength and appearance. Adjust the machine settings as needed to achieve the desired weld quality.
Step 6: Documentation
Document the entire self-testing process, including any adjustments made and the results of the test welds. This information will be valuable for future reference and for diagnosing issues if they recur.
Regular maintenance and self-testing of a resistance spot welding machine are essential to ensure consistent, high-quality welds and to prevent costly downtime. By following these steps and adhering to safety precautions, you can identify and address common issues, keeping your welding operations running smoothly. If more complex issues arise, it is advisable to consult a qualified technician or the machine’s manufacturer for further assistance.