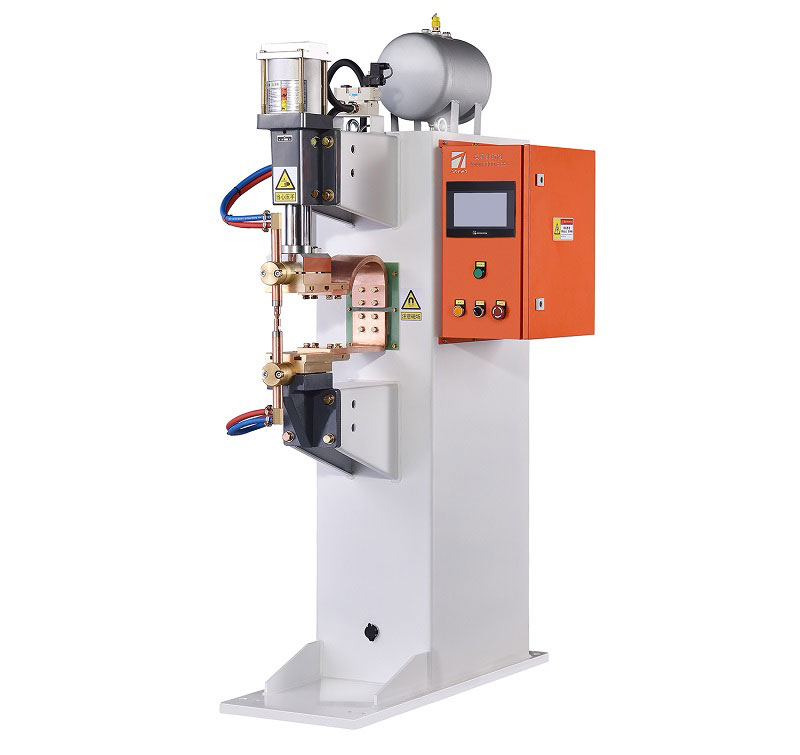
Installation of Resistance Welding Machine Control Box
When it comes to setting up a resistance welding machine, one of the critical steps is the installation of the control box. This vital component ensures that the welding process runs smoothly and efficiently. In this article, we will guide you through the steps required to properly install a control box for a resistance welding machine.
Step 1: Safety First
Before we dive into the installation process, it’s essential to prioritize safety. Make sure the welding machine is completely powered off and disconnected from any power source. Additionally, wear appropriate safety gear such as gloves and safety glasses.
Step 2: Choose a Suitable Location
Select a suitable location for the control box. It should be easily accessible to the operator but positioned in a way that it won’t obstruct the welding process. Ensure that the area is clean and free from any potential hazards.
Step 3: Mounting the Control Box
Now, it’s time to mount the control box. Most control boxes come with pre-drilled holes for mounting. Use appropriate screws and anchors to securely attach the box to the chosen location. Ensure that it is level and stable.
Step 4: Electrical Connections
Carefully connect the control box to the power source and the welding machine. Follow the manufacturer’s instructions and wiring diagrams precisely. Double-check all connections to ensure they are secure.
Step 5: Grounding
Proper grounding is essential for the safety and performance of the resistance welding machine. Connect the grounding wire to the designated grounding point on the control box and ensure it is securely fastened.
Step 6: Control Panel Setup
If your control box has a control panel, configure the settings according to your welding requirements. This may include adjusting parameters such as welding time, current, and pressure.
Step 7: Testing
Once everything is set up, it’s time to test the control box and ensure that it is functioning correctly. Perform a test weld to verify that the machine is operating as expected. If you encounter any issues, consult the manufacturer’s troubleshooting guide or seek assistance from a qualified technician.
Step 8: Final Check
Before using the resistance welding machine for production purposes, perform a final check of all connections, wires, and settings. Ensure that everything is in good working order and that there are no loose components.
The proper installation of the control box for a resistance welding machine is crucial for the safety and efficiency of the welding process. By following these steps and paying attention to detail, you can ensure that your control box is installed correctly and ready for operation. Always refer to the manufacturer’s instructions and safety guidelines throughout the installation process to ensure a successful setup.
