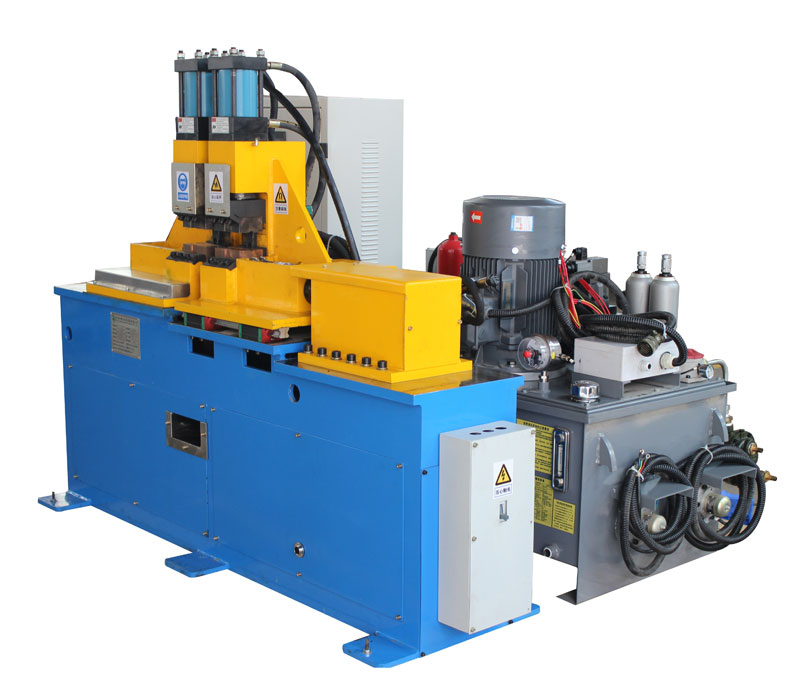
How to Connect a Chiller to a Butt Welding Machine?
Connecting a chiller to a butt welding machine is a crucial step in ensuring efficient and stable operation during the welding process. In this article, we will explore the steps and considerations involved in setting up the chiller system for a butt welding machine, highlighting the benefits of proper cooling in enhancing welding performance.
Introduction: A chiller system plays a vital role in maintaining optimal operating temperatures for a butt welding machine, preventing overheating and ensuring consistent weld quality. Properly connecting a chiller to the welding equipment is essential for maximizing productivity and achieving reliable welding results.
Step-by-Step Guide to Connecting a Chiller to a Butt Welding Machine:
Step 1: Determine Chiller Specifications Before connecting the chiller, it is essential to verify the specific cooling requirements of the butt welding machine. Check the manufacturer’s guidelines or user manual for information on the required flow rate, temperature range, and coolant type.
Step 2: Position the Chiller Place the chiller in a suitable location near the butt welding machine. Ensure that the chiller is placed on a stable surface and that there is sufficient clearance for ventilation and maintenance.
Step 3: Install Water Lines Connect the water lines from the chiller to the cooling inlet and outlet ports of the butt welding machine. Use appropriate fittings and hoses to secure the connections, ensuring a tight and leak-free seal.
Step 4: Fill the Chiller Reservoir Fill the chiller’s reservoir with the recommended coolant, such as water or a water-glycol mixture, as specified by the manufacturer. Ensure that the coolant level is within the designated range.
Step 5: Set Chiller Parameters Configure the chiller settings according to the welding machine’s cooling requirements. Adjust the flow rate and temperature settings to maintain the desired operating temperature during welding.
Step 6: Test the Chiller System Run a test weld to verify the chiller system’s performance. Monitor the cooling temperature and flow rate during the welding process to ensure that the chiller maintains stable conditions.
Benefits of Proper Chiller Connection:
- Enhanced Welding Stability: A properly connected chiller system helps maintain consistent and stable welding conditions by preventing overheating. This stability contributes to improved weld quality and reduces the risk of defects.
- Prolonged Equipment Lifespan: Effective cooling through the chiller system reduces thermal stress on the butt welding machine’s components, extending their operational life and minimizing downtime due to equipment failure.
- Increased Productivity: Stable cooling ensures continuous and reliable welding, leading to increased productivity and reduced production delays.
Properly connecting a chiller to a butt welding machine is vital for achieving efficient and reliable welding performance. By following the step-by-step guide and considering the benefits of proper cooling, welders can optimize the welding process, enhance weld quality, and prolong the lifespan of their equipment. Investing in a well-maintained chiller system is essential for achieving consistent and high-quality welds in various industrial applications.
